Saving Images
There are many standards for images or graphics files. But they are all incompatible. Most multimedia programs can, however, load or save a wide variety of graphics formats. In this section, we will introduce you to some of the more popular images formats.
How to save your images in various options:-
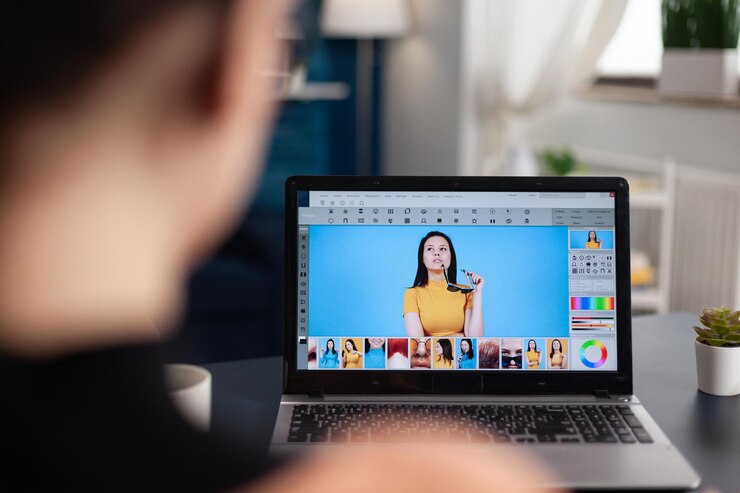
When we go to save any file in Photoshop, we have too many saving and file formats options to choose which is given below:-
JPG/JPEG
- JPEG (Joint Photographic Experts Group) format is one of the most common graphic file formats for web applications. The jpeg format was created by a group of photographic experts to store full – color continuous tone images.
- JPEG images are of much higher fidelity as well as in higher compressed form than images in GIF format.
GIF
- GIF stands for graphic interchange format. It is another format that is widely used for picture display on the world wide web. GIF files have .gif extensions. GIF image format was created by CompuServe to make it possible for images to be viewed while online. GIF file format supports only a maximum of 256 colors. It is best to choose the jpeg format.
- PDF stands for Portable Document Format. This format is designed by adobe. It is a file format that captures all the elements of a printed document as electronic images. This can then be viewed, navigated, printed or forwarded to someone else. PDF files are useful for documents, such as magazines articles, product Boucher’s etc.
- Essentially, the format is used when you need to save files that cannot be modified but still need to be easily shared and printed.
PNG
- PNG stands for portable network graphics. It was created as a free-of-cost replacement for GIF. GIF cannot be included in commercial software without paying license fees to the owners. PNG handles 1 to 48 bites images, and is a lossy , well-compressed format like GIF; it is still not a very popular format.
PSD
- PSD is Adobe Illustrator metafile format. Meta files are files that may contain either bit mapped or vector graphics data.
BMP
- BMP (BITMAP) format defines a display space and the color for each pixel in the display space. A bit map does not require information for each pixel on every row. It only needs to contain information when a color changes along.
Save For Web
If you want to upload an image to the web like a blog or website, you’ll have to use the Save for Web option for this. This feature allows you to save image that are optimized for the web, which will make them easier to download and view online.
Ultimately, the saving option you choose will depend on what you need to do with the image. Let’s take a look at a couple of scenarios to see why you might choose different saving options.
- Perhaps you’ve been working on an incredibly high quality image that was originally meant for print purposes, and now you’d like to share it on the web. Or, maybe, you’ve cut down a video file to 25-50 frames and made an animated .gif file that you’d like to share online. In either of these instances, using the “Save As for Web” offers great options that are specific to online environments.
With static images (as in a JPEG file), you may want to compress differently so that your file size doesn’t end up being too large; this would be especially important for uploading images to websites that have file size limitations, or for webpage loading purposes.
- If you’re planning to share some photos from a recent vacation with your friends. You’d just like to make some quick adjustments in Photoshop, like cropping and rotating, before sharing them. In this case, you could open the original image files in Photoshop, make the necessary adjustments, then save a new version of the edited photos as JPEGs. Because none of these edits are too complicated, you probably don’t need to save a separate PSD version of each image.
As you can see, the saving option you choose will vary from project to project. Before saving an image, take a moment to consider the type of files you’ll need. As you start to gain more experience with Photoshop, this process will begin to feel quick and natural.
Using Save As
You’ll use the Save As command to save files in the PSD format, as well as other common formats like JPEG and PNG.
- With the image open in Photoshop, select File > Save As.
- A dialog box will appear. Type the desired file name, then choose a location for the file.
- Click the Format menu, then choose the file format. For example, you’ll save the image as a JPEG file. If you’re saving as a PSD file, make sure the Layers option is checked. Click Save.
- Some file formats, such as JPEG and TIFF, will give you additional options when saving. Select the desired quality level, then click OK to save the image.
- If you’ve already saved your project as a PSD file, you can select File >Save or press Ctrl+S to save your progress at any time.
In case when you are going to save your file in “save for web” format, what’s the process for that and when you want to save for web you’ll have to make some changes as discuss below:-
- File format: Save for Web allows you to choose from a few Web-safe file formats. Most of the time, you’ll use the JPEG format for photographs. PNG-24 will keep the full quality of the image, whereas PNG-8 is mainly used for graphics and illustrations that use just a few colors. Generally, you won’t need to use the GIF or WBMP formats.
- Image size: You can resize the image directly from the Save for Web dialog box. Resizing the image to be smaller will also reduce the file size. However, if you’re using a service like Facebook or Tumblr, you probably won’t need to resize your images because these services resize them automatically.
- Quality: If you’re using the JPEG format, the image can be saved at different quality levels. You may want to experiment with different settings to find the best balance between quality and file size.
Let’s see the steps to “Save for Web”
- Select File> Export> Save For Web (Legacy)
- Save For Web dialog box will appear. Select the desired file type & quality level.
- Resize the image by typing the desired dimensions under Imaze Size, if needed.
- Click Save. A new dialog box will appear. Type the desired file name and choose a location for the file, then click Save.